Attributes are the user details that are stored in your Identity Provider. These attributes can include Username, Email, First Name, Last Name, Group/Role, Display Name, etc. The Attribute Mapping feature helps you to map these user attributes sent by the IDP after successful SSO to the WordPress user profile.
Steps to Configure Attribute Mapping in Multiple IDP Plugin
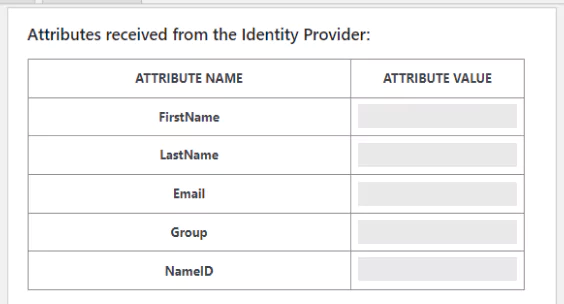
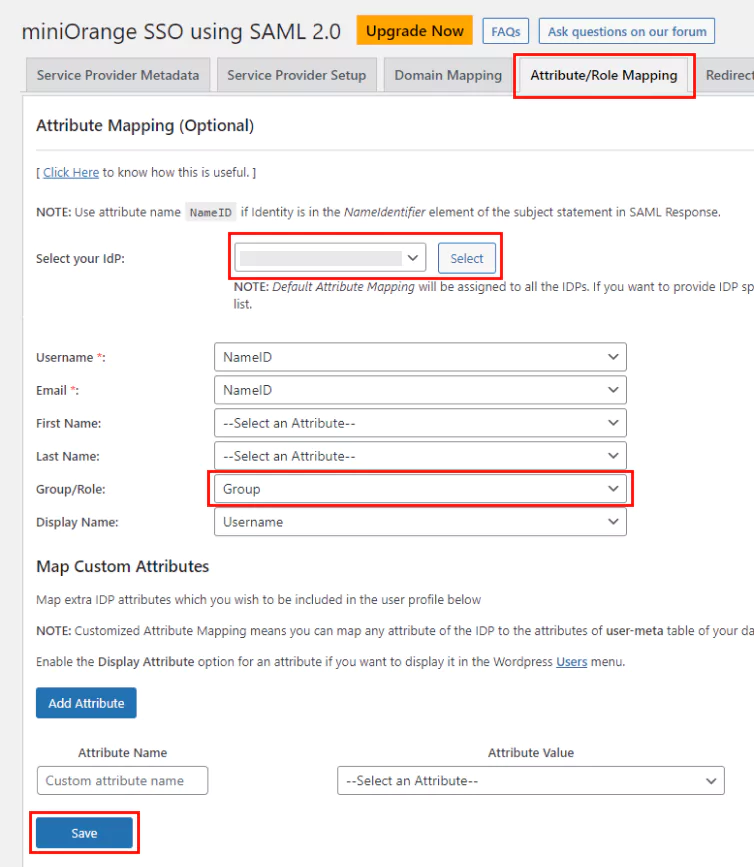
- Navigate to Attribute / Role mapping tab. Select IDP from the dropdown for which you want to configure attribute mapping, and click on the select button. On the right side, you will see a list of attributes received from the selected IDP in the SAML assertion. (NOTE: If you don’t see a list of attributes, please navigate to the Service Provider Setup tab, then Click on Select an Action button and then click on Test Configuration. On successful SSO, you would see list of attributes sent by IDP)

- Now to map the default WordPress user attributes to values sent by IDP, select the Attribute Name from the dropdown for each of the attributes [ Username, Email, First Name, Last Name, Group/Role, Display Name ].

- Click on Save button.
- Map Custom Attributes (Optional) : Custom attributes are additional IDP attributes which you wish to be included in the user’s WordPress profile. Customized Attribute Mapping means you can map any attribute of the IDP to the attributes of the user-meta table of your WP database.
- Click on Add Attribute button to create a custom attribute. Attribute name input ⇒ name of the custom attribute in WordPress. Attribute value ⇒ Select from dropdown.

- Enable the Display Attribute option for an attribute if you want to display it in the WordPress Users menu.
- Click on Save button.
Similar configurations can be done for other configured IDPs as well.